Contents
- 1 Introduction to Studio Portrait Photography
- 2 Importance of Lighting in Studio Sessions
- 3 Essential Studio Lighting Setups for Portrait Photography
- 3.1 Mastering Posing Techniques for Captivating Portraits
- 3.2 Composition and Background Selection for Studio Portraits
- 3.3 Camera Settings and Lens Selection for Studio Photography
- 3.4 Creative Use of Props in Portrait Photography
- 3.5 Expressive Posing and Effective Direction and Communication with Subjects
- 3.6 Enhancing Studio Portraits with Reflectors and Diffusers
- 3.7 Post-Processing Techniques for Stunning Studio Portraits
- 3.8 Studio Portrait Photography Tips for Beginners
- 3.9 Taking Professional Headshots in a Studio Setting
- 3.10 Capturing Memorable Family Portraits in the Studio
- 3.11 Finally Embracing the Art of Studio Portrait Photography
Essential Tips for Captivating Studio Sessions
Introduction to Studio Portrait Photography
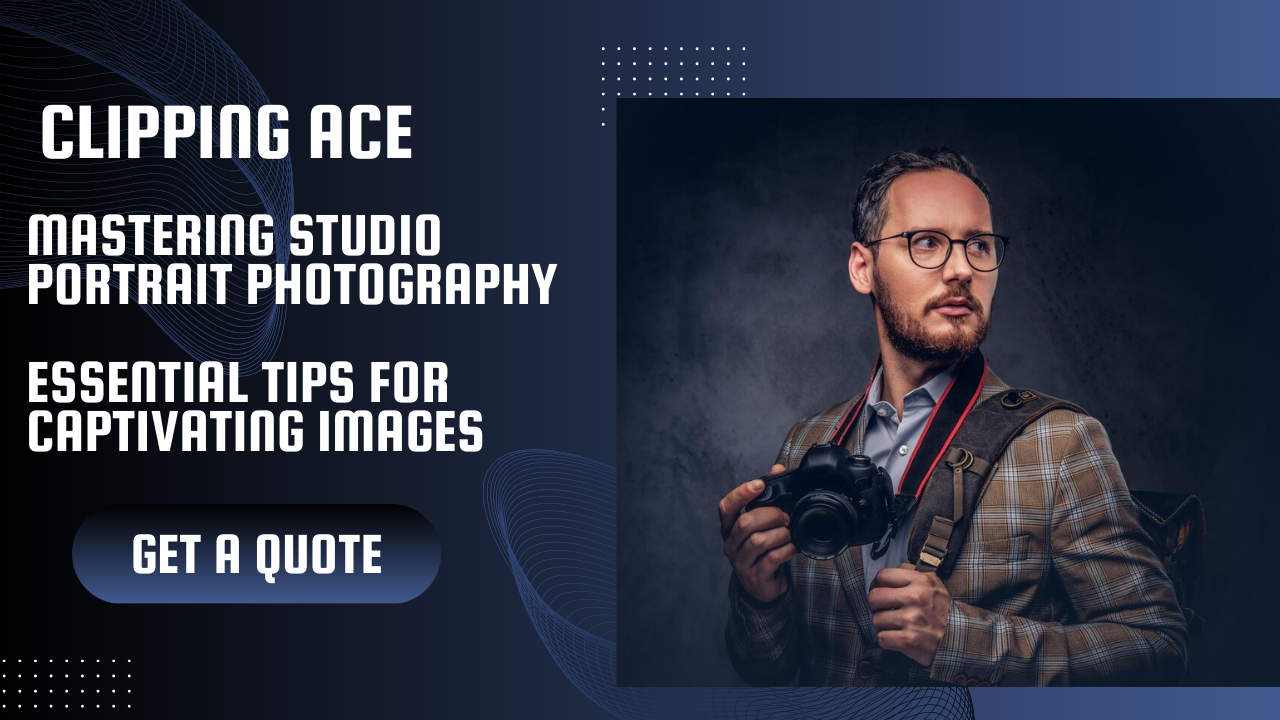
Being a photographer who is very much into portraits, I have always got attracted by the art of taking splendid portraits in a studio environment. While studio portrait photography provides you with full control over the lighting, composition, and imagery, it also enables you to be in charge of the overall look of your images. Whether you’re a professional photographer or an amateur photographer aspiring to get better, the art of studio portrait photography is sure to bring your work to a whole new level.
Importance of Lighting in Studio Sessions
Lighting is an indispensable element in the process of studio portrait photography, which is responsible for the creation of magnetic and visually attractive images. A proper lighting setup might make the difference between a good and a great picture by creating the right atmosphere, showing the subject to its best, and helping you to accomplish your vision. Knowing various lighting techniques and setup is imperative for you to keep the studio sessions as you wish.
Among the most frequently applied lighting schemes in the studio portraiture is the three-point lighting framework. It is a three point light setup where the key light, fill light, and hair light are used simultaneously. The key light is the one that plays the role of the main light source which gives the main lighting to the subject. The fill light helps to soften shadows and even overall lighting, meanwhile the hair light subtly emphasizes the subject’s hair or shoulders, thus separating it from the background.

Essential Studio Lighting Setups for Portrait Photography
You can try out different studio lighting setups including some to create different moods and effects in your portraits. One of the frequent lighting schemes is called Rembrandt lighting, which was named after the celebrated Dutch painter. It is the per-side of the subject’s face to the key light that is positioned 45-degree angle, and the small triangle of light is created on the cheek opposite the light source. This brings a three-dimensional effect to the portrait and, as a result, the image of the subject becomes classic and timeless.
One more widespread kind of lighting set is called clamshell lighting. The configuration has a large softbox or umbrella right above the subject’s face, which serves as the main light source, and a reflector below, which helps to fill up any shadows. The gentle and soft light comes from above and creates an attractive and evenly lit portrait. The reflector helps to minimize the darker shadows as well as the under-eye circles.
Mastering Posing Techniques for Captivating Portraits
Studio portrait photography is built around posing. It may be a crucial factor that can be a make or break one in your photography. How you frame your models can tell a lot about their personality, draw people’s attention to their best sides and make the viewers feel connected to them. It is essential to make your subjects calm and relaxed during the session so that it is reflected in the way they express themselves and their body language.
First, get familiar with the fundamentals of posing, for example proportion of thirds and the role of body angles. Try out various poses and make your models feel free to show up their natural self. Pay attention to their facial expressions, the way they are holding their hands, and their body posture. Make sure you lead and manage your subjects through the session, asking them to follow simple instructions and give them feedback to get the best result.
Composition and Background Selection for Studio Portraits
The way you group and organize your studio portraits in the context of your images has a significant impact on the general visual appeal of your prints. The art of the portrait is in arranging the focus on the subject and creating a parallel between the subject and the frame. One of the key concepts in photography is the rule of thirds, leading lines, and negative space which you should employ to create a dynamic and visually appealing arrangement.
Background selection, in this case, should be aligned with your subject and should blend in so that it may enhance the mood you wish to convey. Simple backgrounds in solid colors are flexible and can be used in a myriad of portrait styles. As an alternative, you can play with textured or patterned backdrops to make your pictures more attractive and full. And most importantly, make sure the background is plain and not cluttered so that it does not distract the viewers from the main subject.
Camera Settings and Lens Selection for Studio Photography
To get professional studio images, it is therefore essential to master the camera settings that are optimal for the task and also the lens choice. Manual mode of shooting ensures full control of exposure, which allows you to set the aperture, shutter speed, and ISO that best fits the effect you are trying to achieve and the current lighting conditions. Opening up with an aperture between f/5.6 and f/8 will guarantee precise focus on the subject while obtaining a smooth background blur.
Regarding the choice of the lens, the one with a focal length of 50mm-85mm which is best for portrait photography is ideal for the studio photography. Such lenses naturally create a certain point of view and let you take flattering portraits without exaggeration. Try different focal lengths to get a feel for them and see what suits you best and which one will give you the desired composition of your pictures.
Creative Use of Props in Portrait Photography
Props can become an artful and yet unique part of your studio portraits. They are often used to tell a story, support the plot, or set a particular mood in the pictures you are taking. Props are a useful tool, and to use them effectively, you should select objects that are related to the subject of your portrait and don’t steal the spotlight from the main focus of your painting.
One instance is if you are shooting a musician, you can include musical instruments or music to give it more depth and context. If you are taking a family portrait, you could use props such as instruments, books, or sports equipment to highlight the whole family’s hobbies and interests. The thing is that you use props only if you need to and when you do they should be with a purpose, so they bring your image to the next level without turning into an obstacle.
Expressive Posing and Effective Direction and Communication with Subjects
By the means of creating a relaxed atmosphere at the moment of a photo-shoot, you can help your models to show themselves and be authentic. Help them go through poses that they feel are a reflection of their personality and which will make them feel comfortable and confident. Good direction and communication are key factors in creating a relaxed environment, where the students are equally active during the lesson.
Make sure you spend some time with your subjects first and then jump into shooting. Get into conversation, learn about their hobbies and likes, and pay attention to what they like and dislike. The cameraman should try to make them feel more comfortable, which will result in a more open response. Offer your participants the necessary instructions, and support them by giving positive encouragement and feedback. It is important to keep that in mind. The more comfortable and joyful a subject is, the more real and engaging the portrait will be.
Enhancing Studio Portraits with Reflectors and Diffusers
Reflectors and diffusers are useful tools in working with light in a studio setup that change its intensity and effect. Reflectors reflect the light back onto the subject, thereby help to fill in shadows and create a more balanced lighting setup. They are available in different colors and sizes which help you to control the intensity and color of the reflected light.
Contrastingly, with diffusers, you are able to soften and diffuse harsh light, and as a result, you will obtain a more flattering and natural portrait look. They can be used for adjusting the light coming from a window or studio strobes. It will help to get rid of harsh shadows and achieve a delicate look overall. Play around with different reflectors and diffusers to see what the right setup for mood and lighting effect in your studio portraits is.
Post-Processing Techniques for Stunning Studio Portraits
The post-processing is indeed a vital step in the studio portrait photography workflow. It lets you improve the color saturation, create the mood, and the overall visual appeal of your pictures making them better and more attractive. It is advisable for you to do the editing of your studio portraits in a way that brings out a natural and timeless look that improves the subjects’ features without looking too edited.
Begin by adjusting exposure, contrast, and white balance to render an image with a balanced quality. Adjust the colors and texture to have a homogenous feel. Focus on the details like skin retouching, removing distractions, etc. to bring more sharpness to the face. Make sure that the image remains authentic and not alter it too much in order to avoid a situation when the portrait appears unnatural.
Studio Portrait Photography Tips for Beginners
1. Try out different lightings and approaches to see their role in the last shot.
2. Try different poses and use the examples of skilled photographers as a source of inspiration.
3. Invest in good quality equipment that will include a stable camera, lenses, and lighting sets.
4. Give your subjects the time and space to develop a relationship with you and become comfortable with the camera around them.
5. Keep learning and improving your skills by attending workshops, online tutorials and by practicing manually.
Taking Professional Headshots in a Studio Setting
Headshots taken in studio are one of the most widely used images in business, they are found in corporate profiles, resumes, and social media platforms. To get the professional head shots, the main thing is to focus on the face of the subject, which will convey their features and the personality.
First, choose a plain and uncomplicated background, so that the subject stands out in the spotlight. Be aware of the lighting setup, trying to create a soft and flattering light, which would be without shadows and emphasize the subject’s best features. Help the employee to go through a range of postures and facial expressions, highlighting their self-confidence and businesslike manner. Do not forget to give clear directions and communication be effective all through the session.
Capturing Memorable Family Portraits in the Studio
Portraits of family members are priceless items that are used to preserve and reflect the love and connection between family members. In a studio environment you have the benefit to set up your own lighting, composition and overall image look. To make family portraits that are going to be cherished for a lifetime, it is essential to create a calm atmosphere and great mood for everyone present.
Promote natural interactions and authentic sentiments amongst the family members. Guide them through asanas that show their relationships and dynamics. Try composing various portraits, such as individual ones, group ones, and candid ones. Keep an eye on the lighting and background so that they match the family’s style and give it a unified appearance. The challenge is to create a story of a family that is real and timeless in a way that makes the viewer feel the love and connection between them.
Finally Embracing the Art of Studio Portrait Photography
Studio portrait photography is an art form that demands a lot from the photographer, including his/her technical skills, imagination and communication skills. If you learn and master the basic techniques and principles, you will be able to create portraits that will amaze everyone and will be full of feelings and stories. Whether you are a photographer by profession or just a hobbyist, explore the art of studio portraiture and discover the unique benefits you can gain. Continually study, try out and keep on innovating, your creativity is limitless. Through diligence and experience, you will surely be able to take wonderful portraits that will be remembered for years to come.
If you’re up for the next step in studio portrait photography, start with some trial and error using different lighting and posing techniques. Communicate efficiently and provide proper instructions with your subjects and don’t be shy to experiment with different creative ideas. Never forget that perfection takes time and experience. Therefore, do not stop learning and practicing your skills until you become the master of your art. Happy shooting!