What Is FTP: FTP Explained
File Transfer Protocol (FTP) is a standard for exchanging files over the internet, enabling users to upload or download files to and from a remote server. Among various FTP clients available, FileZilla stands out for its ease of use and robust functionalities.
In this article, you’ll learn how to use FileZilla to transfer files between your local computer and a remote location. Whether you’re managing a website or sharing large files, understanding FileZilla’s interface and features will streamline your file transfer tasks.
How to Use FileZilla FTP – Video Tutorial
How to Use FileZilla to Connect to FTP
This section will guide you on how to connect to FTP with FileZilla and transfer files between your computer and the server.
1. Download and Install FileZilla
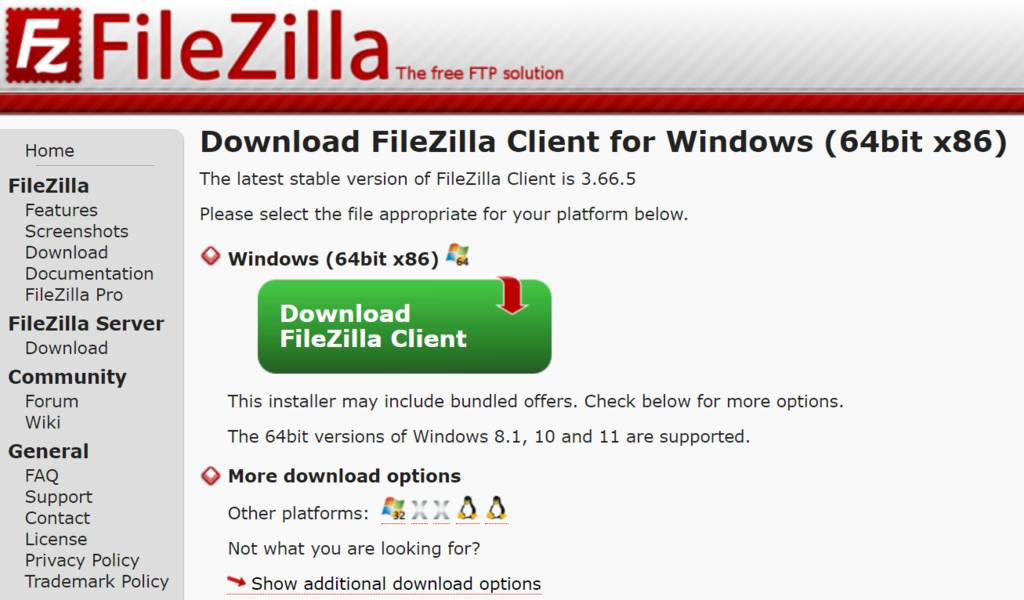
To begin using FileZilla, download this free FTP client from its official download page. There, you’ll find releases for various operating systems, including Windows, macOS, and Linux.
Once you’ve downloaded the version suitable for your OS, proceed with its easy-to-use installation wizard. Simply accept the license agreement by clicking I Agree, then continue by clicking Next on the subsequent steps.
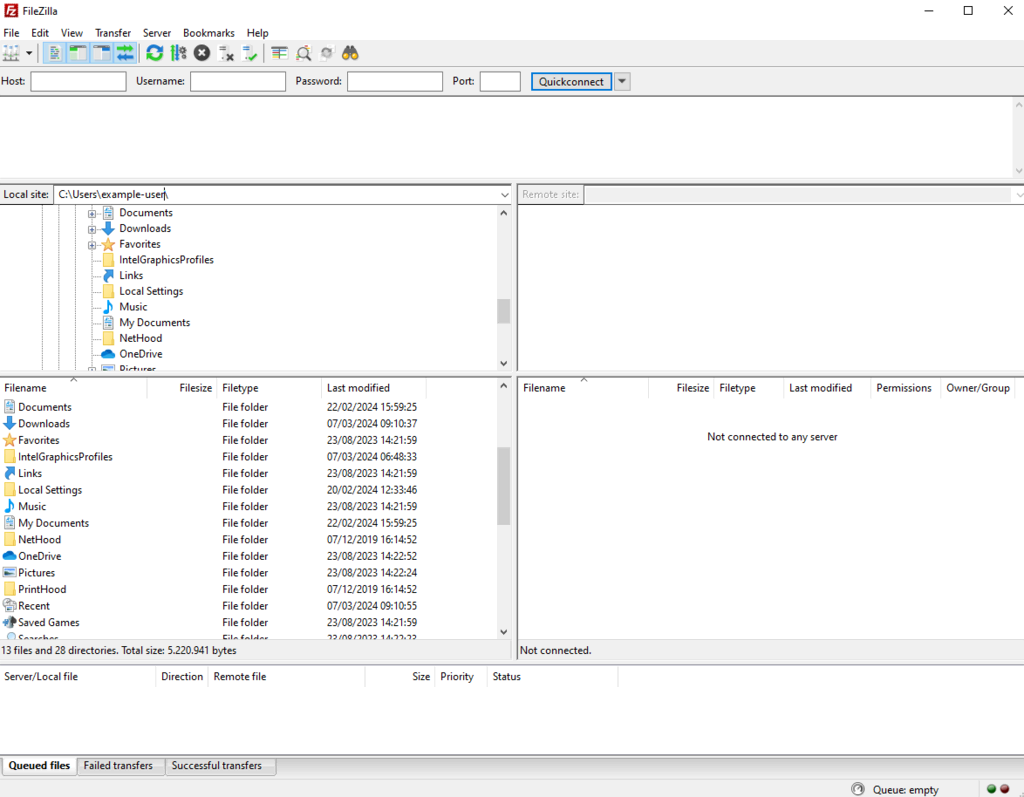
After the installation is complete, open FileZilla and start getting acquainted with its interface, which will prepare you for the initial FTP connection.
2. Gather FTP Details
Gathering FTP details is necessary before connecting to the server via FileZilla. Look for the server’s domain or IP address, your FTP username, password, and port number.
For Hostinger’s web hosting and WordPress hosting customers, the FTP server information is accessible on hPanel. Log in to your Hostinger account and navigate to Files → FTP Accounts from your hPanel dashboard.

3. Use the Quickconnect Feature
The FileZilla Quickconnect feature is a swift and efficient method to connect to your FTP server, ideal for one-time connections or when you need immediate access. To use this feature, find the Quickconnect bar at the top of the FileZilla interface.

Input your server’s address in the Host field, the server’s credentials in the Username and Password fields, and specify the Port as 21 for a standard connection or 22 for a more secure SFTP connection, which we’ll explain more in the subsequent step.
After inputting the necessary FTP client configuration details, click the Quickconnect button. FileZilla will then try to connect to the server. Monitor the connection status in the message log area, located just below the Quickconnect bar.
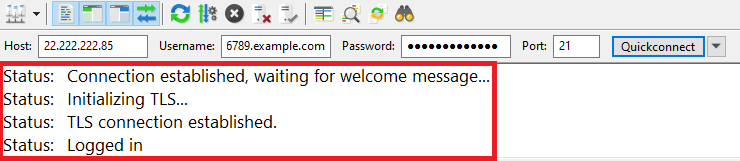
Once you’ve successfully connected, you’re ready to start transferring files between your local system and the server.
4. Navigate Local and Remote Directories
FileZilla’s dual-panel interface allows you to navigate between directories with ease.
The left panel is the local directory tree, which shows files and folders within your computer’s file manager. Meanwhile, the right panel is your remote site, enabling you to browse through files on your server.
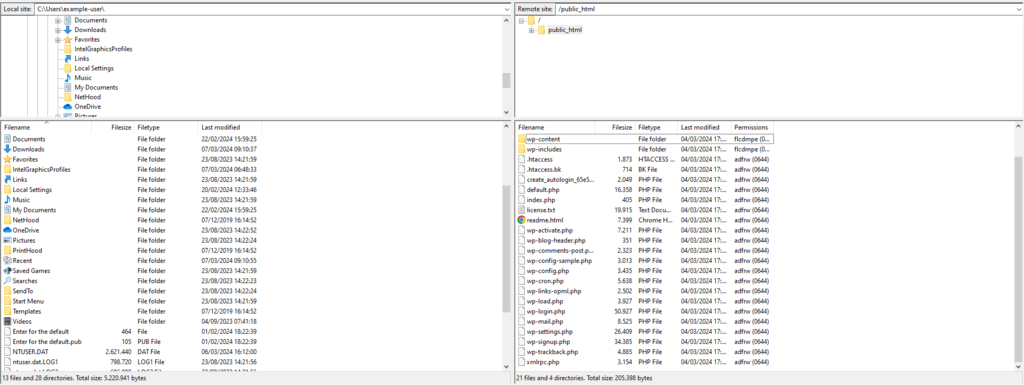
The local and remote panel’s functionality is mirrored. To explore a folder’s contents, double-click it. You can drag and drop files or folders between panels for uploading or downloading or use right-click options to rename and delete files from either location.
5. Upload Files to the Server
Uploading files to your server using FileZilla is simple. Start by locating the files you wish to upload in the left panel. Navigate through your local directories until you find the desired files.
Once you’ve identified the files, there are two main ways to upload them:
- Drag and drop. Click and hold the files, then drag them from the local panel on the left to the desired location in the remote server directory on the right panel. Release the mouse to start the upload.
- Right-click method. Alternatively, right-click on the selected files and choose Upload. This will transfer the files to the currently open folder in the remote server panel.
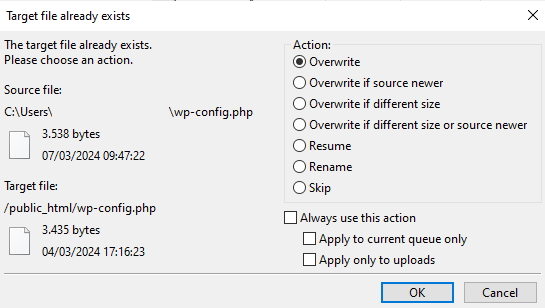
You can monitor the upload progress in FileZilla’s bottom panel. Suppose the same file name exists in the destination directory. In that case, FileZilla will prompt you with options to overwrite, rename, or skip the file, giving you full control over the uploaded files.
6. Download Files from the Server
Downloading files from your FTP server to your local computer using FileZilla is as simple as uploading. This is particularly useful for backing up your local folder/website files or making local edits to your website content.
To do this, navigate through the directories in the right panel and click on the file you wish to download. To select multiple files, hold down the Ctrl key (Windows) or the command key (macOS) while clicking on each file.
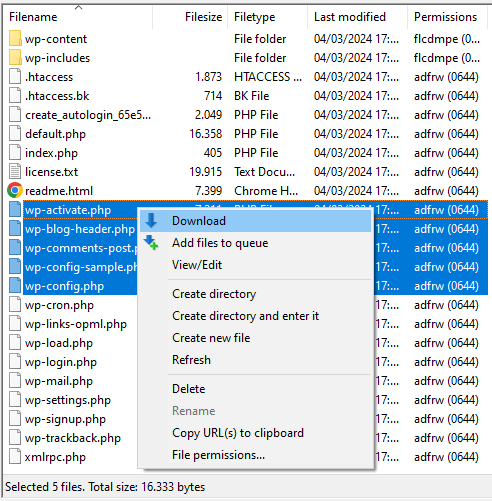
Similar to uploading, you can download your chosen files using either the drag-and-drop or right-click method.
You can monitor the download progress in the same bottom panel. When complete, the downloaded files will appear in the selected folder on your computer.
Discover the Freedom
Let us handle your Image Editing needs for

Busy Professional Photographers with a high volume of image editing needs from recent product photoshoots.

E-commerce Companies looking to focus their time on business planning rather than Photoshop editing.

Advertising Agencies or Image Managing Agencies juggling tight client deadlines and numerous deliverables.